Print coversheets from a query result
To print coversheets from query, you need to follow the below given steps:
1) First, go to Plug-Ins in the Raiser's Edge bar and select PaperSave to open PaperSave Options window as shown below.

2) Once you click on PaperSave, it opens the PaperSave Options window, which gets automatically minimized. You can hover on the Raiser Edge application icon on the taskbar and select PaperSave Options to maximize the window, as shown in the below screen.

3) Click on the Print coversheets from a query result option from the PaperSave Options Window as shown in the below screen:

4) Now, select your desired query from the "PaperSave - Add document(s) to query results" dialog box and click on Print Coversheets button, as shown below.

5) You will be redirected to PaperSave's "Print coversheet from Query" window in the browser as shown in the below screen. Here, you need to map 'Query columns' with the PaperSave supported Raiser's Edge record types in the drop down list and click on OK to map the query. You can check the box to "Save mapping for this query" directly from the dialog box.
Note: If you save the current mapping, then you will be automatically redirected to the File capture options page the next time when you print coversheet from query for the same Record type.

6) Once you click on OK, you will be prompted with the certain Generate barcodes options as shown below. Here, you can choose the desired document type and any of the following barcode print options, and click on Generate button.
- Generate a single barcode for each selected document type using default field values: This will create a single coversheet for each of the document types selected in the Document Type pane for each record in the Query result. When you will select more than one document type, then only this option will be available in the drop-down list.
- Set the field values for the selected document type: When you will select this option, it will allow you to define the field values before generating the barcode coversheet. This option will be displayed in the drop-down list only when a user selects single document type.
Note: While defining the field values, you must fill all the required fields. Else an error will occur with the message "All required fields have not been entered for the Document Type: (Name of the selected document type)"


Note: If the mappings are saved, then the Save Mappings option will be changed to Clear Mappings. You can click on Clear Mappings to create the new mappings.
7) Now, a barcode will be generated for all the query records and you will be navigated to an item viewer, as shown below. Here, you can navigate to different PaperSave Areas, Generate another Barcode, view a list of the query records, print the barcodes, and save/clear mappings.

8) Now, click on Print Item and select any of the following Print options as per your requirement.
- Print: This option will print the coversheet currently displayed in an item viewer.
- Print Selected: This option will print the coversheets that you have selected using the checkbox in an unsubmitted item list
- Print All Across All Document Types: This option will print all the coversheets generated for all the document type (available in Generate Barcodes options)
9) Once you select the relevant print option, a print dialog box appears, as shown below. Click on Print to proceed with printing the coversheet or click on Cancel to exit the dialog box without performing print operation.


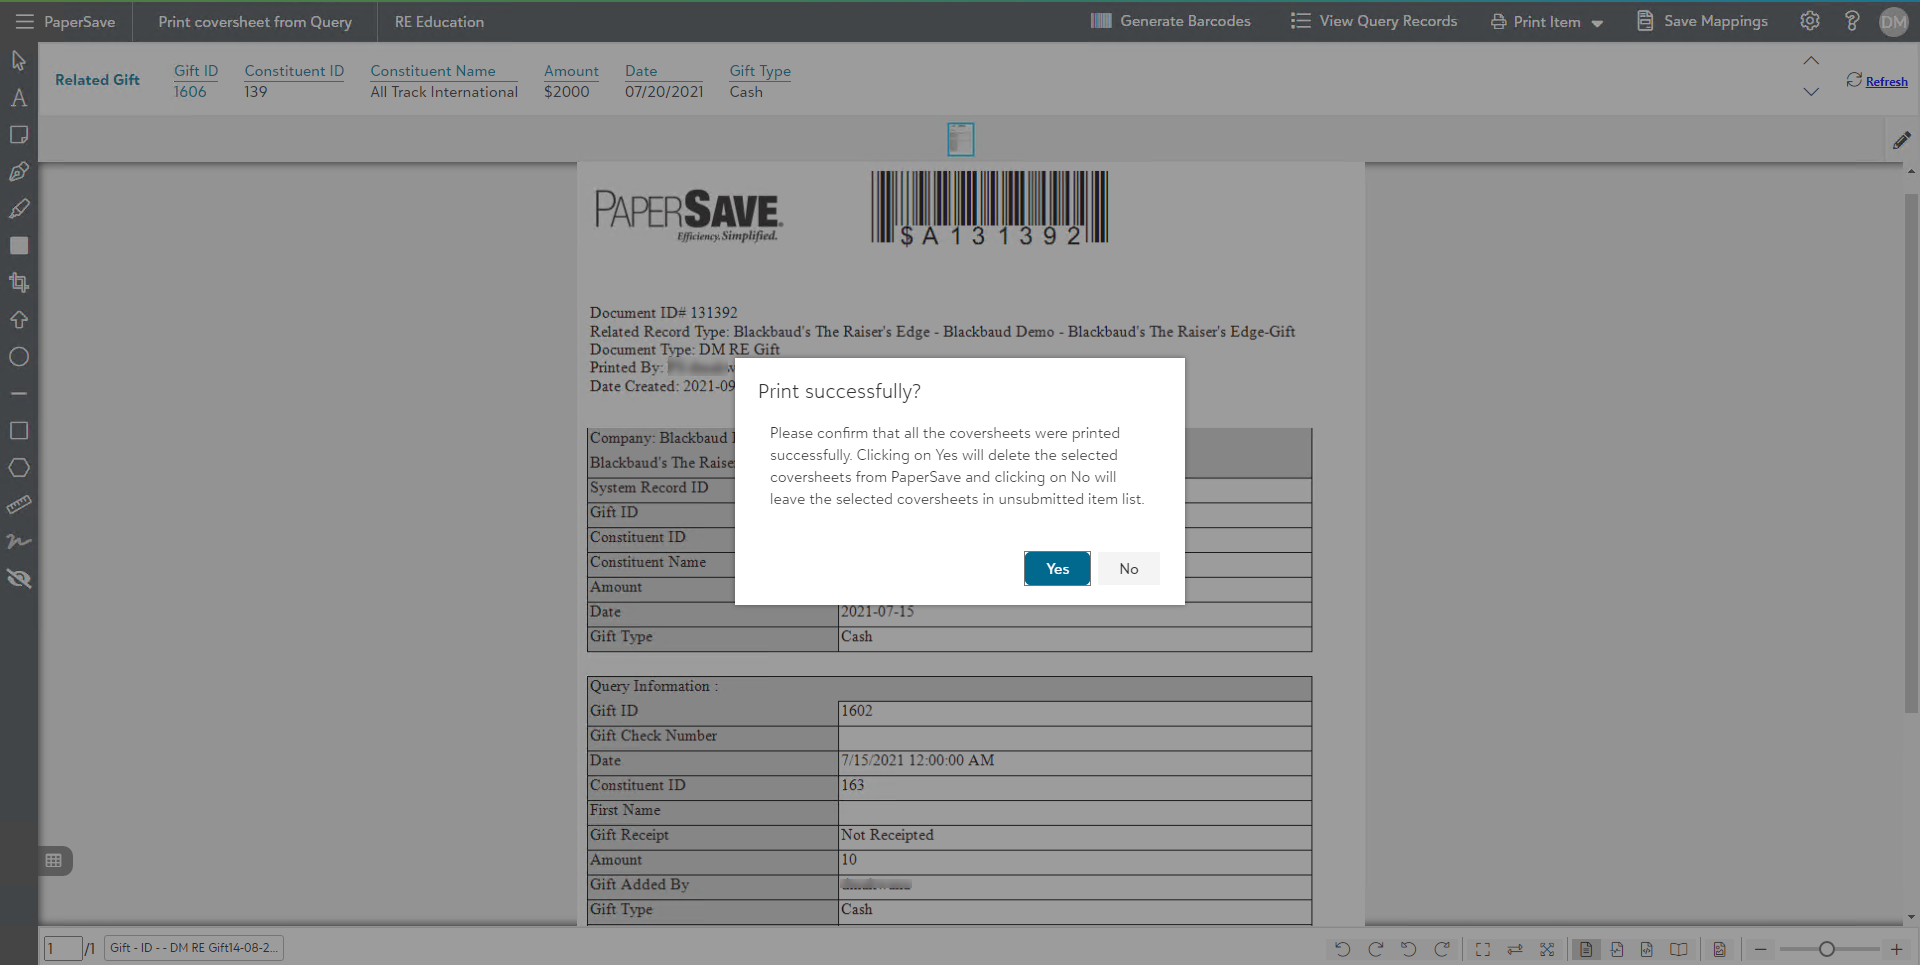
10) After the print operation is performed, a confirmation message will be prompted as shown below. If you click on Yes, then it will remove the printed barcode coversheets from the unsubmitted item list and on No, it will keep the coversheets in unsubmitted item list so that you can print again (in case print operation failed).